APRS Messenger for UV-K1 / UV-K5 V3
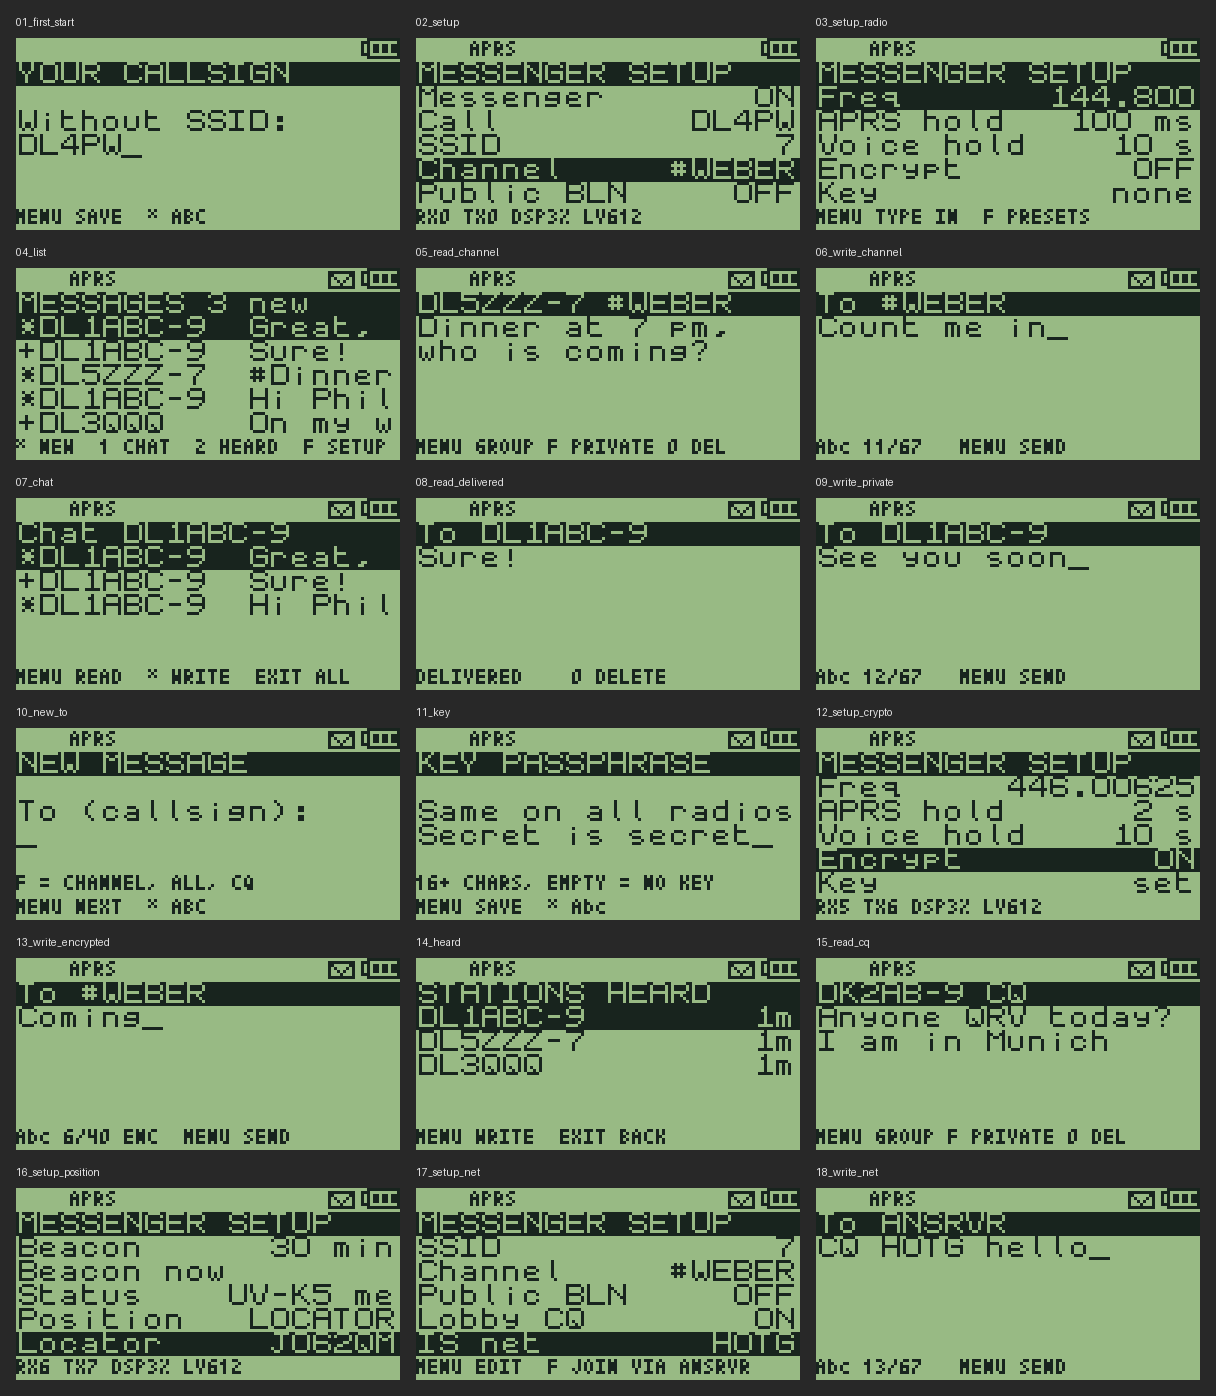
The F4HWN Fusion firmware with background APRS messaging: mailbox, channels, lobby (CQ and APRS-IS groups), position beacon, station list, multi-tap typing, optional encryption where it is allowed.
Flash it from the browser
- Back up the calibration first (once per radio): flash the official Fusion firmware, then dump the calibration in UV Studio and keep the file, named after the radio's serial number.
- Connect the radio with a data USB cable and put it into DFU mode; UV Studio shows how.
- Open UV Studio with this firmware already loaded, then select Flash Firmware and the radio's serial port.
Chrome, Edge, Opera or Firefox 151+ on a computer (Web Serial). Flashing goes through the radio's bootloader, which is never overwritten; the calibration stays in its own flash sector. Back to stock: restore the calibration file, or use UV Studio's factory reset for the UV-K1 / UV-K5 V3.
After flashing
- Menu → a side key setting (
F1Shrt…M Long) → MESSAGES. - Press it: enter your callsign, switch the messenger ON.
- Tune VFO B to 144.800 MHz (IARU Region 1): FM, wide, no offset, no tones, compander off.
With voice on VFO A: RxMode
MAIN TX / DUAL RX.
Examples, settings, the APRS channel on VFO B and voice with APRS in two pages: the quick start. How messages travel (direct, digipeater, Internet): how it works. Everything else: the user guide.
CHIRP
The F4HWN CHIRP driver does not know the side-key action MESSAGES: it shows it as NONE and resets it when it writes the settings. This build comes with its own driver, the F4HWN v6.3.0 driver plus that action. Load it in CHIRP with File → Load Module (newer CHIRP versions show it after Help → Developer Mode).
Download the CHIRP driver